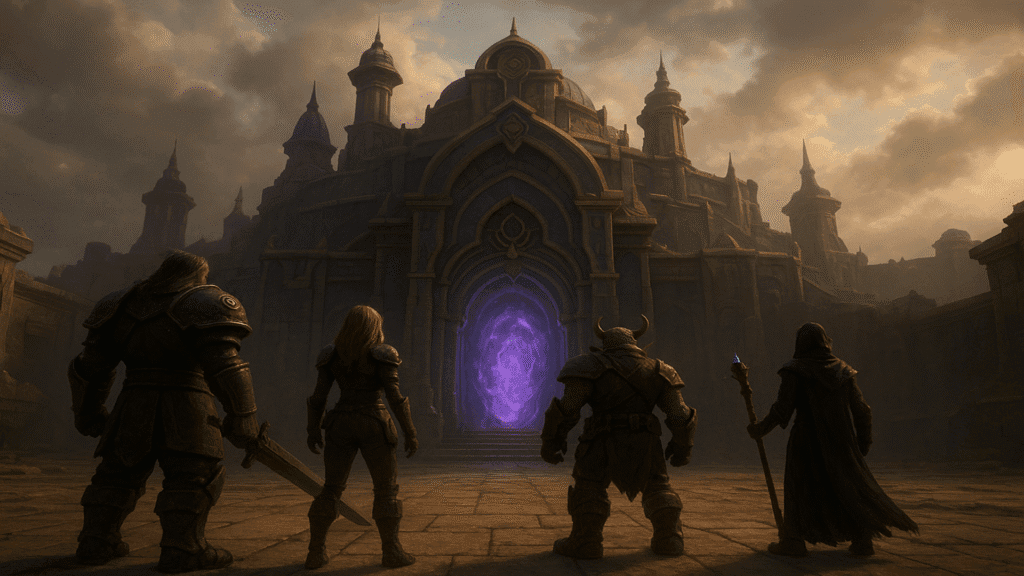
World Of Warcraft: The War Within, Season 3, Tazavesh: Streets Of Wonder M+ Guide
Tazavesh: Streets of Wonder in World of Warcraft: The War Within, Season 3 is a challenging dungeon with five unique bosses and tricky mechanics that test teamwork and strategy. From deadly lasers to damage-reducing barriers, every encounter keeps players on their toes. If you want to save time or go with higher-level Keystones, you can buy WoW boosting services to clear the dungeon as fast as possible and focus on the fun part.
Article content:
Dungeon Notes About Tazavesh: Streets of Wonder
Tazavesh: Streets of Wonder dungeon has the longest timer in the current M+ rotation, as it features five different bosses. There aren’t as many mobs as in some other instances, but some adds spawn moving lasers on the ground that can deal extremely high or even lethal damage if not avoided.
Many mobs in the second half of the dungeon also cast barriers that reduce the Magical Damage they take. If you want to successfully clear the Keystone on time, you can always turn to affordable WoW boost services.
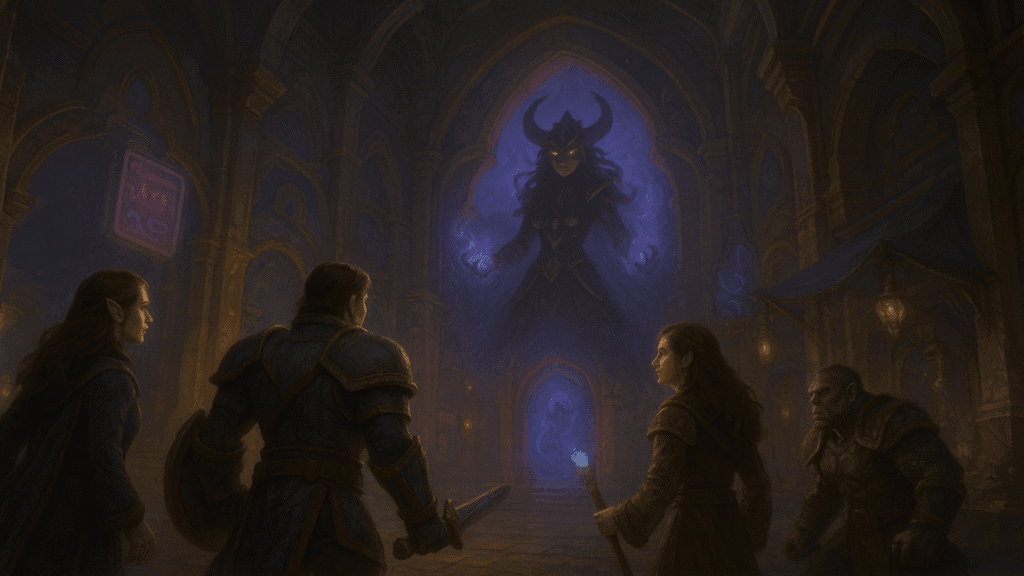
All Boss Encounters in Tazavesh: Streets of Wonder
Tazavesh: Streets of Wonder, one of the longest and most hard dungeons in WoW’s third season, featuring a total of five bosses. The reason behind this dungeon’s difficulty is that it requires total teamwork. With the right tactics and rotation, the dungeon can be completed quickly and easily. Below is a breakdown of all the bosses in this dungeon:
Zo’phex The Sentinel
The first boss encounter in Tazavesh is Zo’phex the Sentinel. To handle this fight, focus on the following mechanics:
- Dodge the frontal attack and spinning blades on the ground, while the Tank moves the boss.
- If you get disarmed, quickly retrieve your weapon to regain your abilities and Haste buff.
- When a random player is imprisoned during the interrogation mechanic, prioritize freeing them and move out of the way.
Zo’phex does not have a lot of mechanics, but most of them require good team coordination, so purchasing WoW boosting can be beneficial for you.
The Grand Menagerie
This encounter features three bosses fought consecutively: Alcruux, Achillite, and Venza. It’s one of the more challenging and engaging fights this season, and if you find it difficult, you can buy WoW boosting to help complete it.
- Alcruux: A random player receives the “Gluttony” debuff, dealing damage over time and bouncing to the nearest player when it expires. Alcruux also spawns falling orbs that should be dodged. When the boss reaches around 25% HP, the next boss spawns.
- Achillite: This boss pushes players away and spawns damaging orbs that also reduce your character’s damage. The player with the Gluttony debuff can consume these orbs to gain stacking damage that transfers when the debuff moves. Achillite also has a strong Tank buster, so Tanks should use defensive cooldowns. When Achillite hits 25% HP, Venza appears.
- Venza: Periodically casts a root on a random player, which can be removed with utility spells like “Hand of Freedom.” Venza also uses a circular attack that drags and deals lethal damage. Note that Achillite’s body continues to spawn orbs until the end of the encounter.
Mailroom Mayhem
The next boss, P.O.S.T. Master, begins by throwing goop on the ground. Players can either let it form puddles or soak it themselves, taking damage over time. The boss will then hit a random player with a heavy attack that can be soaked and shared across the group. Shortly after, P.O.S.T. Master casts AoE damage, so healers need to stay ready. The final mechanic involves bombs dropped on the floor; players must quickly pick them up, use their extra action button, and throw them into an open vent.
This fight focuses on the group’s ability to make smart decisions. Failing to soak puddles can quickly clutter the arena, and bombs dropping on puddles can overwhelm the healer. To save time and gold, many players opt to purchase cheap WoW boosting for an easier and smoother dungeon run.
Myza’s Oasis
Zo’gron appears after completing a minigame and defeating a few mobs. This encounter is light and enjoyable, featuring a musical minigame that adds a fun twist to the fight.
- Tank: Take the instrument at the front to quickly pick up aggro from the boss and incoming adds. Use the instrument in the extra action slot to extend your buff.
- DPS: Grab instruments in the middle or sides to extend your buff and use them to reach adds and interrupt abilities. Refresh your buff during the fight and save cooldowns to quickly break the boss’s shield.
- Healer: The drums in the back will be the instrument you should take as the Healer. It’s easy to extend the duration of the buff, and all you have to do is dodge the swirls or do damage by getting off the tool.
If you are playing alone or attempting to push high-level Keystone, you can buy WoW boosting services instead of grinding it alone for hours.
So’azmi
The last boss of the dungeon will test your group’s ability to quickly solve problems and navigate between four sectors. Here’s what the boss does:
- Expanding Rings: The boss periodically summons rings that continuously expand. If a player touches a ring, it applies a lethal DoT, making careful movement essential.
- Portals: So’azmi spawns three pairs of portals, each marked with a triangular, circular, or square symbol. Players must use the correct portals to navigate safely and avoid the rings.
- Teleportation & Interrupts: So’azmi teleports between sectors and begins casting abilities that your team should interrupt. This definitely requires a coordinated play to be able to pass that phase.
- Healer Challenge: Players in other sectors cannot be targeted or healed by each other. This makes this fight particularly challenging for the Healer role.
Considering how hard and time-consuming the fight is, many players choose to purchase WoW boost to quickly complete the dungeon and avoid frustration.